While I was looking through some typography-related websites, I happened to stumble upon a really cool service called “My Script Font.” This program allows you to create your own handwritten fonts in less than 15 minutes. I thought it would be interesting to see my own handwriting converted to font. So I tested it out!
Step 1: Download PDF Template
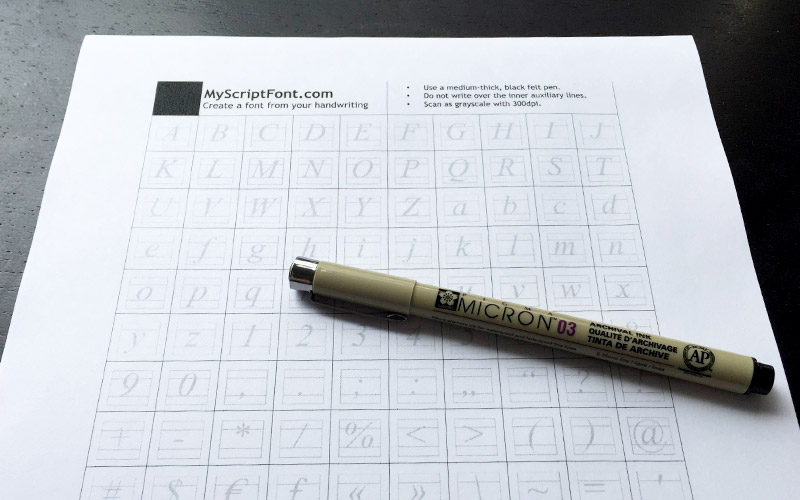
The first step is simple enough—just download the template PDF from their website and print it out. You will notice on the sheet that they’ll have each character greyed out for you as a guide. You will also want to get a nice medium-weight felt tip pen. I used an 03 width Micron pen and it worked pretty well.

Step 2: Get to Tracing
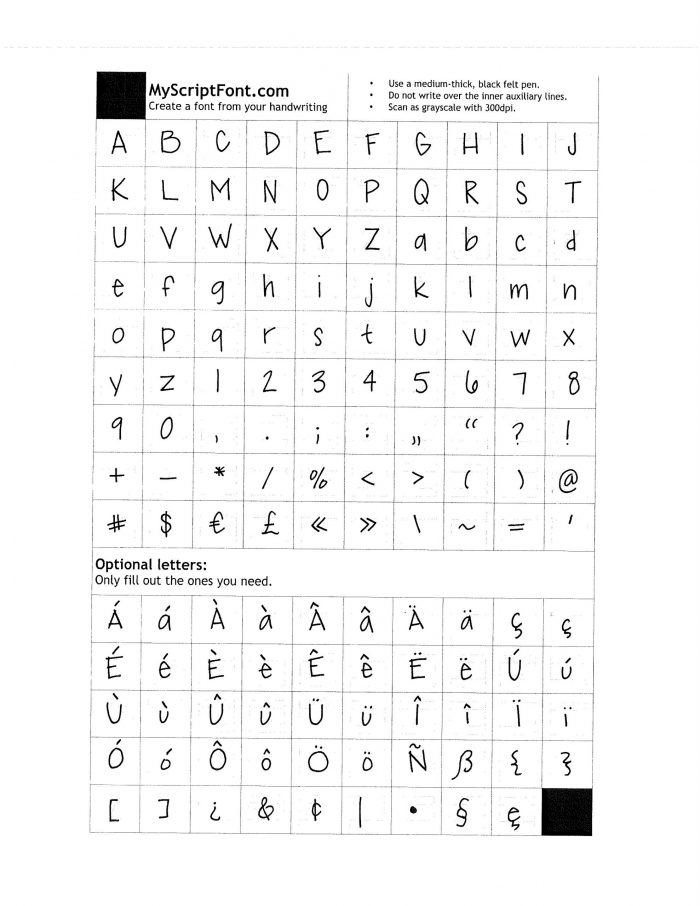
The next step is the one that requires the most patience and concentration. Once you have your materials, find a clean workspace to start tracing. I also layered a couple more pieces of paper underneath my template to create the smoothest surface possible. Now you have to go through each character and carefully draw in each letter. Be extremely mindful of the height guides given to you in the template. If the baseline of your letters is varying, the font will come out looking very choppy. On the other hand, if you are looking for a more playful font style, then be as free with the heights as you want. See my finished product is below.

Step 3: Upload Your Font
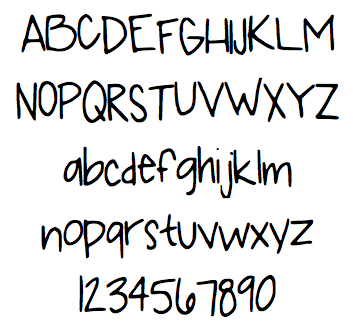
The last step is to scan your sheet and submit it to the My Script Font website. Be very careful not to fold or smudge the sheet in this process or else it will mess up your font! Once you plug it into the website, it will generate your font for you as either a TTF or OTF in seconds. Just save the file and load it into your computer and you’ll have full access to your font as if it were any other font! You can see how my handwriting font turned out below.


