
Logging In | Blog Posts | Pages | Menus
The ease with which you can manage your website’s content with WordPress is what makes it the most popular CMS (Content Management System) in use. This post will show you how to log into your WordPress so that you can start managing your site’s content.
How to Log into the Backend of WordPress
To log into your WordPress website, you’ll need to open your internet browser and type in your domain name followed by /wp-admin.
An example of this would be: mywebsite.com/wp-admin
Once you’ve entered this into your address bar, you’ll be greeted by a login screen.
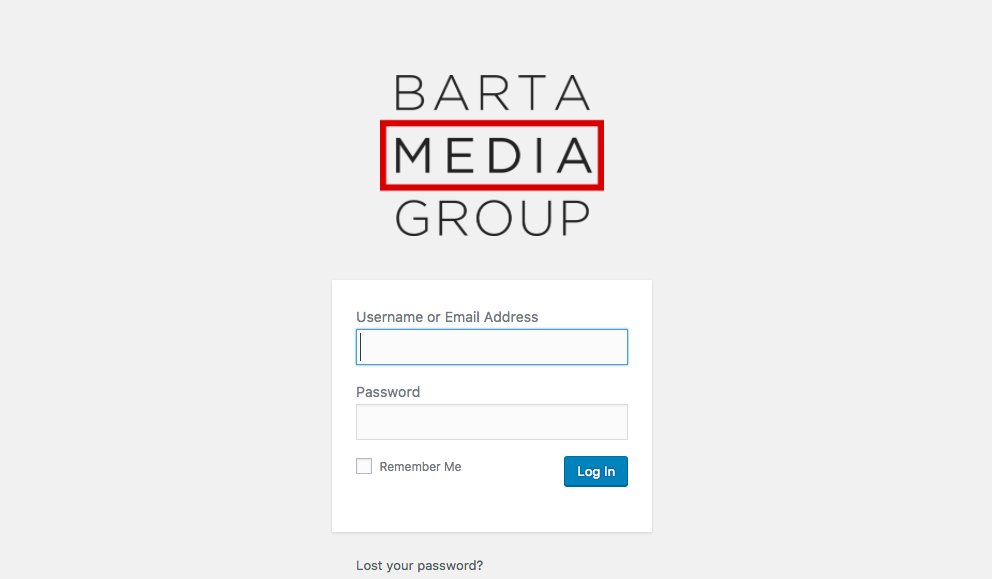
Type in your username and password and the next thing you’ll see is the WordPress dashboard.
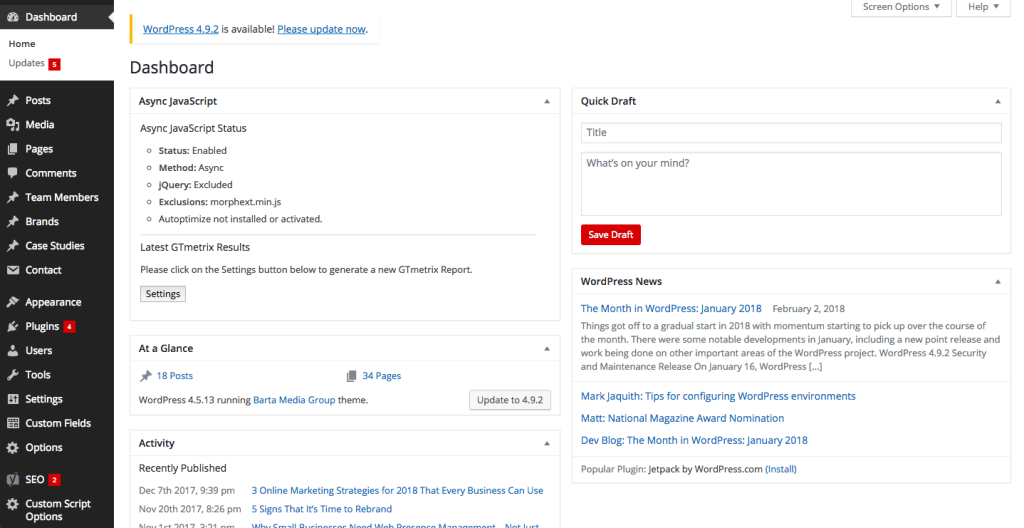
From here, you’ll want to pay special attention to the sidebar navigation.
Creating and Editing Blog Posts
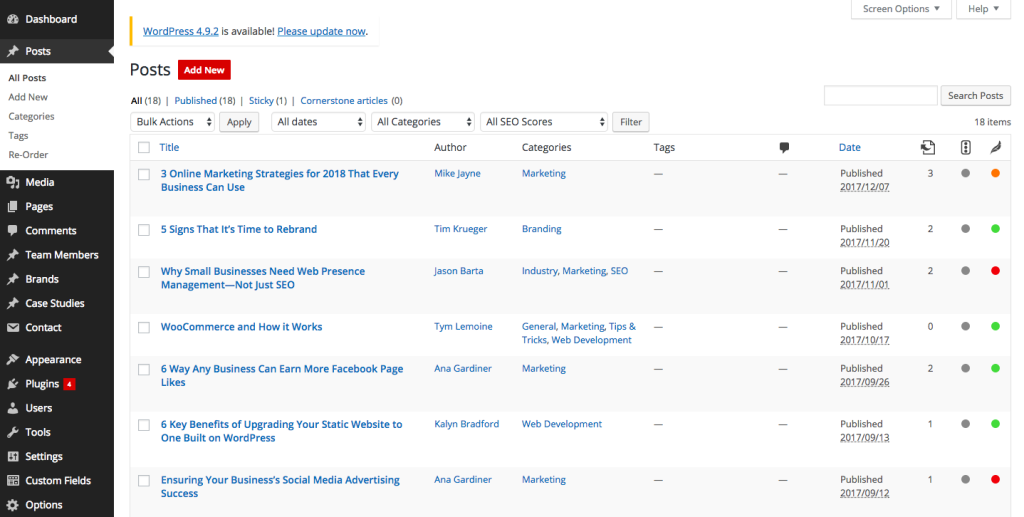
The first item listed here is Posts. This is where all of your blog posts are stored. To create a new post, click on Posts in the sidebar navigation, go to the top of the page, then click the Add New button. You can also edit an existing post by clicking on its title.
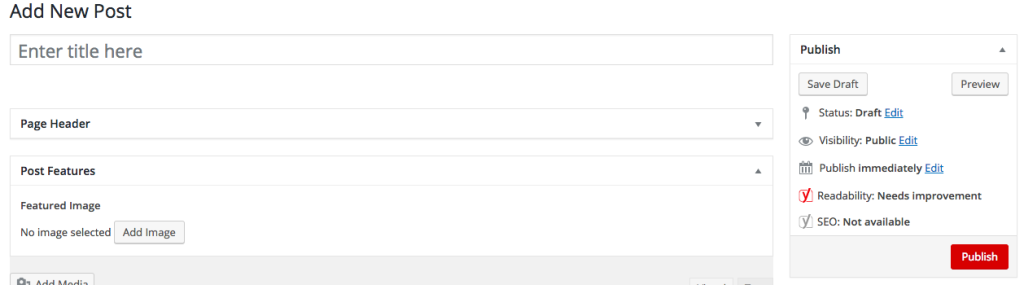
When creating a new blog post in WordPress, the first field you will see is the Title field at the top. Below the Title is the Body of the post. This is where the main content goes.
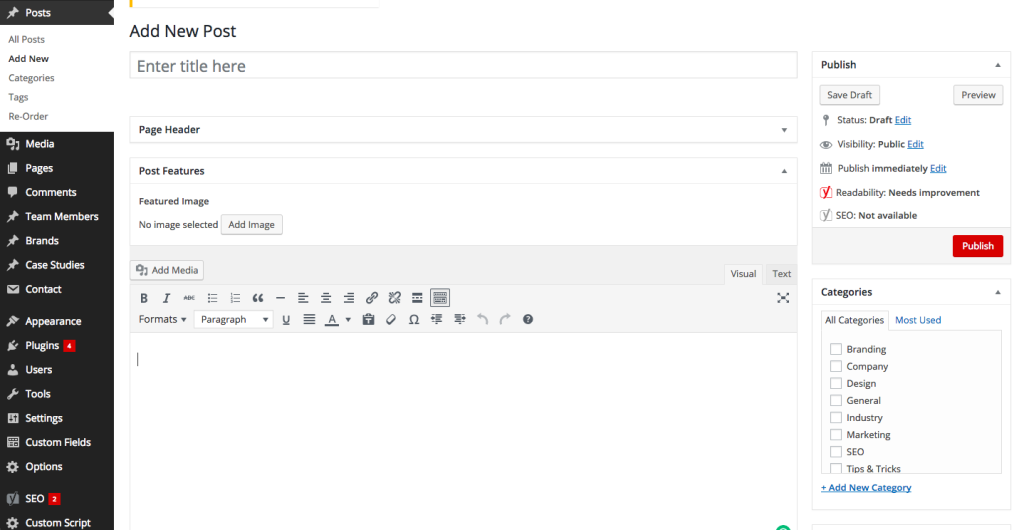
Writing within the Body of a post works very similar to a standard word processor. You’re able to bold, italicize, and underline text, insert symbols, add hyperlinks, create headings, change text alignment, and start numbered and bulleted lists. You also have the added features of uploading images and embedding videos.
To do this, you will click on the Add Media button in the top right corner of the Body toolbar. Doing so will open your Media Library. This is where you can select images and files you’d like to put into your post. You can also add new files by simply dragging them into this window.
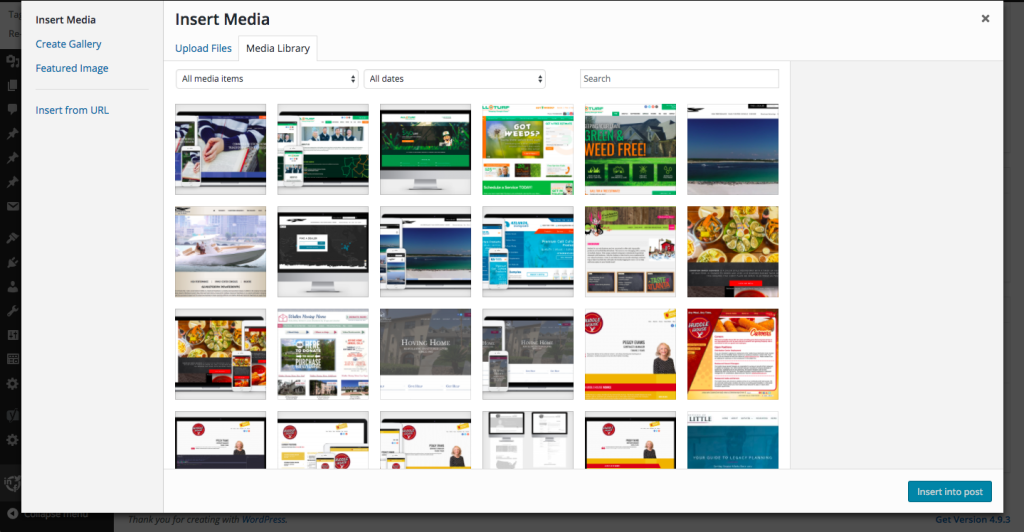
Once you’ve chosen the image, you can decide on your alignment and size settings, then click the Select button to bring it into the post.
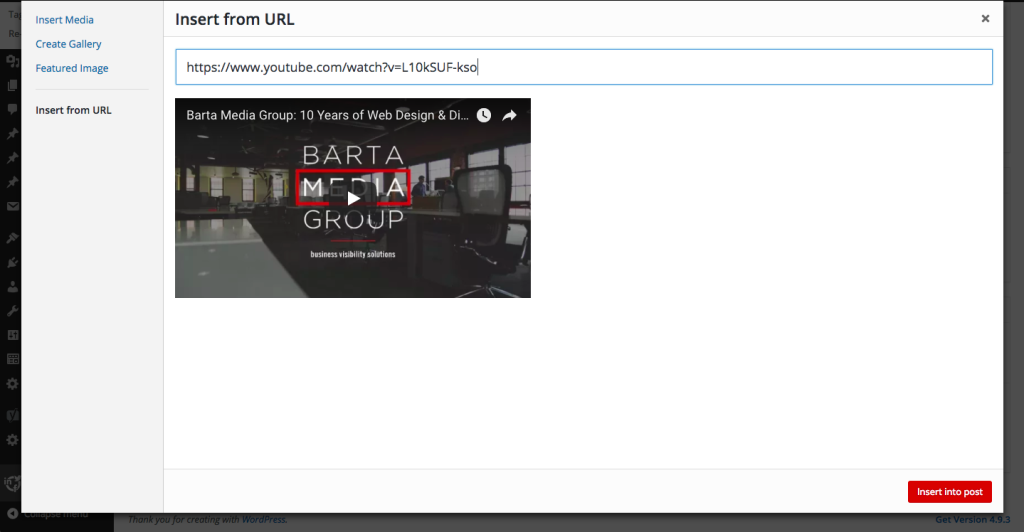
To embed a video, you’ll go to the right-hand side of this window and click Insert from URL. This will show you a field where you can enter the URL of a video you’d like to add. Once you’ve entered the link, you’ll see a preview of the video and you’ll click the Insert into post button in the bottom left-hand corner. As soon as you insert a URL, you’ll see the video appear in the Body of your blog post.
Once your post is complete, you can categorize it on your blog by creating and selecting custom categories. You can also add a Featured Image to use as the main image if you decide to share it on social media. When you’re ready to go live with your post, simply hit the Publish button in the left-hand corner of the Publish window.
Creating and Editing Pages
Creating and editing existing pages on WordPress works exactly like posts. Any differences in layout or features will likely have to do with how your development team built the various page templates that appear on your site. This is another reason why WordPress is so great. Developers can design page templates with custom fields to make it as simple as possible for non-tech-savvy users to easily make changes to their content.
Organizing and Adding Pages to Menus and Dropdowns
After creating a new page, you may want to add a link to it in one of the main menus on your site. To do this, you’ll go to the Appearance tab in the left-hand navigation bar and select Menus. Once you’re there, the first thing to do is select the menu you wish to add your new page to.
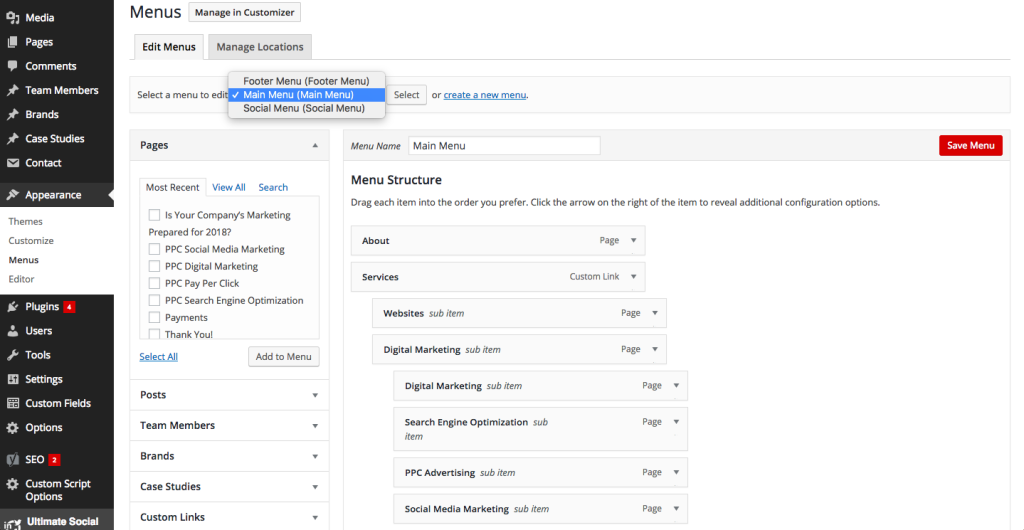
To add a page to the menu, simply find it in the Page window on the left-hand side, place a checkmark next to it, and click the Add to Menu button. Doing this will have the page appear at the bottom of the Menu Structure. You can then click and hold the page you just created and drag it into position.
- Placing a page directly above or below an existing page will change the order in which the links will appear in the menu.
- Placing a page below and adjacent right of another page will turn it into a sub item. Doing this will create a dropdown menu. You can do this again to create another sub item and thusly a dropdown within that dropdown.
When reordering and adding pages to your menus, be sure to keep in mind the amount of space you have to work with on the front-end of your site. Adding too many pages may cause menus to look cluttered and could confuse your users.
Once you’re satisfied with your changes, click the Save Menu button in the top right-hand corner of the page.
Start Creating!
While there’s a lot you can learn about your WordPress site, knowing how to manage and create content is key. To learn how you can use your new website with your Facebook page to earn more Likes, check out our post 6 Ways Any Business Can Earn More Facebook Page Likes.